The forms go on the strongback. Pretty fiddly job. Making sure everything is level and straight and spaced properly, takes up a good chunk of time. But given how critical that is, unavoidable.
Hank was adamant that he didn’t want to use staples to construct the kayaks. One school of thought states to use staples to hold the strips in place. Run the glue into the groove, put on the next strip, and staple it on to the forms to hold them in place to dry. When it’s all done, you remove the staples. This leaves a fairly noticeable matrix of tiny holes. Even filled in with a slurry of epoxy and saw dust, they can be spotted. I’m not necessarily dead set against their use, but had to concede that the end result would probably look better without the staple holes. The cedar strip canoe that he built years ago he did without staples, and if he was familiar with doing without them, I would happily follow his lead.
There are a few different strategies you can use to achieve a staple-less build. Canadian Canoe in Mississauga peddles a pretty slick (although some might argue a bit pricey) kit. Hank put on his thinking cap and devised what I believe is a unique system. That works really damn well.
Some views of the forms on the strongback.
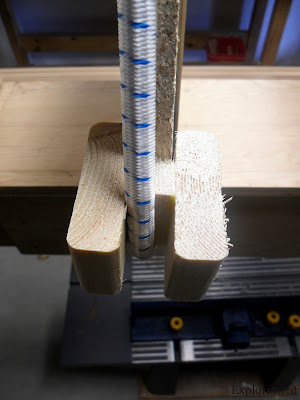
What Hank devised was a system of grooved blocks that could be positioned anywhere on the forms to increase or decrease tension, with the tension being provided by shock cord.
Screws in strategic places allowed the bungee cord to be criss-crossed around the entire strongback.
Plenty of extra bungee was left at either end. If an area needed some extra attention it could be wrapped around and clamped in place. Depending on the need, the whole system could be removed or shifted without a whole lot of drama.
This system will here to fore be known as the “Nyhof Clampage System.” I decree it.
This system will here to fore be known as the “Nyhof Clampage System.” I decree it.
On a project like this, clamps are indispensable. (And you can also see another indispensable item in the third picture, Ted Moores’ Kayakcraft.)
Go here for part 4 of the build.
Go here for part 4 of the build.


No comments:
Post a Comment