skip to main |
skip to sidebar
Wanted to put some ventilation pads along the spine, to try and help mitigate that sweaty back thing. Being a small time tinkerer, and not having much money, and not wanting to order just a yard of some sort of moisture wicking material mail order, I tried something more accessible and cheaper. While at Len’s Mill, I found some plasticized mesh, similar to what Maxpedition uses. I tried several approaches to a foam, until I bought an anti-fatigue mat for $3 at a dollar store.
The tube is a paper drill.
Making things holy.
Punchy.
And the result.
Attaching the two sides was a tedious process. I wanted to make them more shaped, (I had cut the foam in a more angled shape originally) but ended up going for a straighter shape, since the squares of the mesh kind of pushed me in that direction.
And covered with webbing. The stitching looks brutal, but it works.
This will hopefully give a bit of breathability. Oh and there are two of these. (Only had the one when I took the photo.)
It might be a slightly ghetto solution, but I’m fairly confident it will work. I’d love to have a full roll of the latest, greatest high tech breathable fabric to play around with. I don’t so I make do with what I can easily get my hands on.
Adapt. Improvise. Overcome.
Yoke stapled on to be sewn in place.
The two back pieces sewn together, showing the outside and the inside, with the yoke sewn on.
The two back pieces sewn together, showing the outside and the inside, with the shoulder straps attached to the yoke.
Since what I make are essentially just prototypes, I may want to go back at some point and make revisions. Partially deconstruct it, take parts out, add other parts, etc. So to that end I usually do sections in different coloured thread to help me distinguish what is what. If the thread is to be visible I usually use a matching colour. But for anything that will be hidden, different colour thread helps if I need to revise or fix at some point down the way. Not to mention that black on black kinda sucks. White on black is just easier to deal with.
Two pieces for the back. The orange parts are foam cut from a yoga mat. They’ll sit beneath the stay pockets, providing a bit of padding against my back. They’re glued on to the fabric, and then the two pieces will be mated.
And if anyone is particularly interested, the glue I used to stick the foam to the fabric.
Shoulder straps, back. I used a mesh fabric with a layer of, drum roll please, grippy, non skid drawer liner beneath it. Yeah, the stuff you put under carpets to prevent them slipping, or in the bottom of a drawer to prevent the cutlery tray from banging around. Perhaps a completely ghetto solution, but it’s perforated, allowing for some breathability while still providing some padding.
Shoulder straps, front. PALS webbing on the lower part to allow for mounting of a phone pouch or the like to.
When I’m done I intend to make another set of shoulder straps, this one out of a plasticized mesh, somewhat similar to the straps on some Deuter packs. Swap them out in summer time for more breathability in really hot weather.
Stay pocket, front, closed.
Stay pocket, front, open.
Stay pocket, back.
22" aluminum stay.
22" stay, showing the curvature to exactly match my spine.
I’ve been carrying around the Messenge’mups for a few years now. I’m about 98% happy with the design and how I built it. It’s held up really well, and there were only some very minor points I would change about it. But my main problem with it is that it is a bag that is slung over one shoulder. While it’s a convenient format, it’s just not good long term to carry any sort of weight that way. I’ve been mulling over a backpack design, one specifically geared towards my day to day life living in a city. It’s going to be a fairly large panel loader bag, with a lot of features, including 22" aluminum stays, and a detachable waist belt. It’ll be black but with an orange interior.
I’ll post photos as the build progresses.
Some half assed patterns for the straps, belt and back. Some done by hand, some on the computer. Was going to do everything that way, but the hand drawn ones were fine for now. Still a bunch more I’m drawing right now for the body itself.
This pile of patterns, stays, hardware, zippers, cut material, foam, mesh, webbing, etc. will just do the back with the aluminum stays, the straps and the belt. The pack design itself is still being tweaked and drawn.
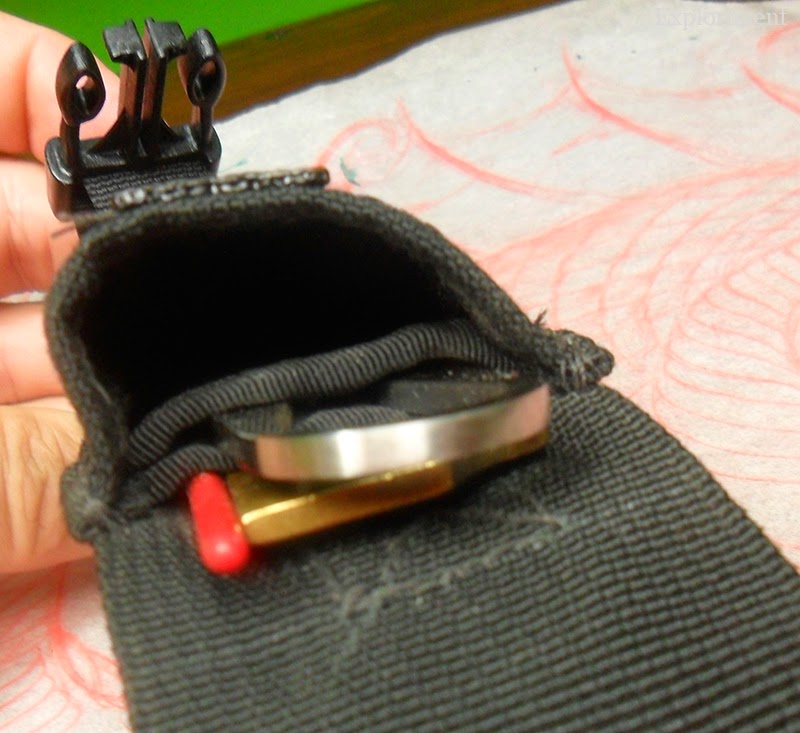
I have made a separate pouch for this item before, the Spark’mups. (Which was actually the first thing I ever posted on this blog.) Meant to hold a Silva match case (a copy of the K&M Matchcase), containing a SparkLite and TinderQuick tabs.
If you want to know a bit of the thought process behind this (and several other pouches to come) read about the Tūl’mups. Same basic premise and design features – just a different size.
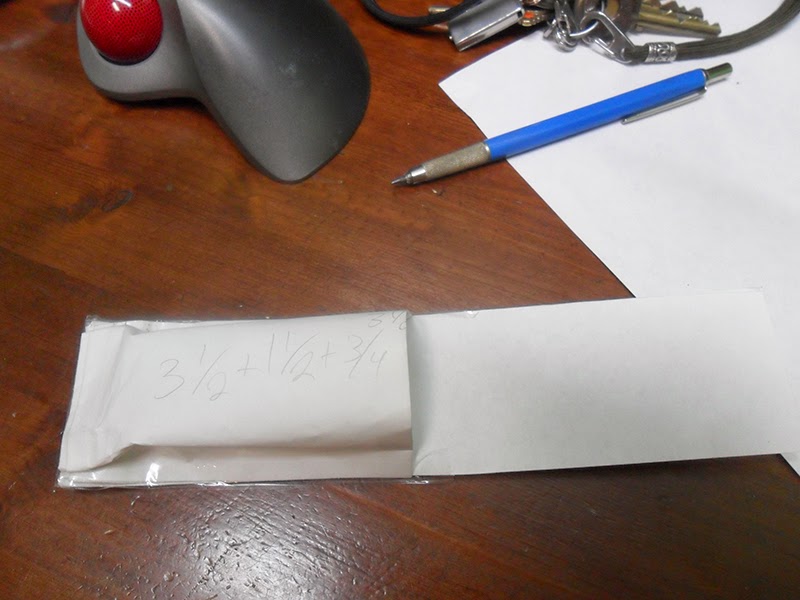
As usual, I started out with a rough paper model to get a sense of the size needed. A lot cheaper than making mistakes in fabric. Not a perfect medium, but it works okay.
A few pictures I snapped. I think it’s all fairly self explanatory. The BALLS (Belt Attachment Lowerable Loop System) might not be, but that is explained in the aforementioned link.
Oh yeah...sewn by hand on the commute to work and on lunch breaks.
So I came up with NyfFyrLyt 3....and after living with it for a while I realized I wasn’t so keen on it.
Mainly the fact that it weighed a kilo, and was essentially a big brick attached to my belt. It just wasn’t a comfortable day to day item.
I came to the conclusion that the idea of one pouch, while on the face of it an elegant solution, a few smaller pouches, some that I can wear on the right side and some on the left side was a much more workable solution. Not to mention that I don’t need to or want to carry all of them all the time. I may just want a flashlight, or my LM Wave - but not some of the other things all the time.
Created this pouch, the first of several, for the PocketWrench 2, Leatherman Bit Kit, brass calipers, and a needle nose file, the Tūl’mups.
Nothing that innovative about the pouch itself. I used webbing for back and the flap, and a side release buckle for a closure.
Bottom is just folding and stitching the excess of a square of Cordura down.
A step from the construction process. I wanted three compartments, and created that by sewing a length of tubular webbing on to the flap. The Cordura that formed the box would create the third compartment. Something else I did was to sew a bartack across the bottom of the tubular webbing so that the PocketWrench would sit up a little bit higher to make accessing it easier.
A closer look at the three compartments.
The one innovative idea on the pouch is one I carried over from the NyfFyrLyt 3. BALLS – Belt Attachment Lowerable Loop System. I can wear it high or low, and also still attach it to PALS webbing.
Box stitch on the strap.
The required items as carried.
I’ve already realized a shortcoming – it’s catchy. If it was a fairly tight belt loop, one just large enough to accommodate the width of my belt, it would be less of an issue. I needed to clamber into a tight space a few days ago and stuff on both sides snagged and managed to ride up and fold out enough where I have to manually unhook myself. Getting into a kayak hatch with this one would become a pain in the ass. Not just a nuisance, but I could see it potentially being dangerous as well.
The Siamese SlikClips are also a bit pointed, and I can see them damaging upholstery. (There is also the issue of their strength limitations.) I’m thinking I’d like to get my hands on some WooJin Gate Keepers instead. But I think before I spend the money on that, I will try a loop of Spectra line and knot it. Light, low profile, free. Not as quick to attach and detach though.
Another thought I’m having is in order for these pouches to be as low profile as possible, to ditch the SRBs. Maybe have a strip across the pouch that the flap can be inserted into to hold it closed. Would likely need pull tabs to open it and close it. I’ll give it a try at some point.






 Posts
Posts


