Showing posts with label cedar strip. Show all posts

Wednesday, 26 September 2012

Kayak Build 9

Flipping her over.

After getting the hull done and fiberglassed and epoxied it was time to flip the kayak over so we could commence the deck. Not quite as simple as it sounds. The molds that were inside the hull had to stay in place, and there was a chance of their being jostled and knocked loose.
The bunjee system we put to such good use in constructing the hull we wrapped around the whole package. Placed on the floor so we could prepare the strongback.
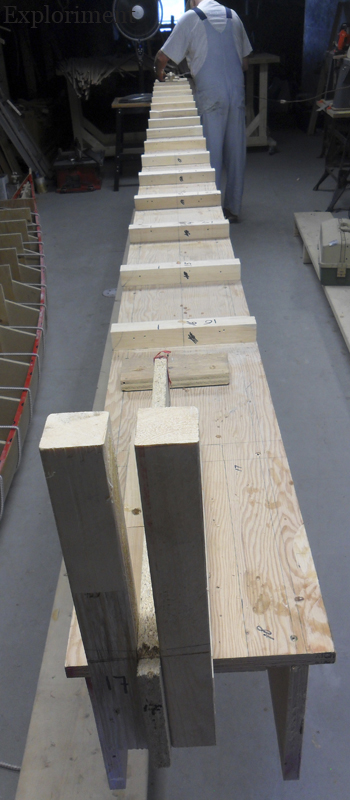
The strongback like we haven’t seen it in a while.
The bow mold.
The hull molds attached to the strong back.
The hull back up on the strongback. Most of the plywood pieces attached to the strongback and attached to the molds so that the whole thing would be raised with enough clearance still attached.
And removed.
Removing rough edges off the hull to ensure that the deck will mate perfectly.
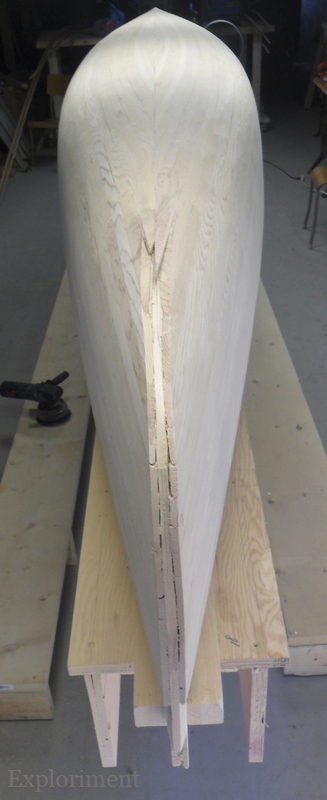
And some more views of the hull. From stern to bow.
And from bow to stern.

Tomorrow we start the deck.


Go here for part 10 of the build.

Monday, 10 September 2012

Kayak Build pt. 8

Fibreglassing and epoxying.

The worst part of this whole process, but has to be done.
Fiberglass laid across the kayak.
I was on epoxy and hardener mixing detail, and Hank was in charge of smearing it on. With his many years of boat repair experience, he knew what he was doing.
As much as it’s a gooey, gluey, goopy mess, the transformation is remarkable.
First coat on.
Applying the second coat.
Waiting to see if it needs a third coat.
After applying a third coat.

If I may be so immodest....wow, that looks hot. That honey colour is something else. The transformation from dull white to that is spectacular.


Go here for part 9 of the build.

Friday, 7 September 2012

Kayak Build pt. 7

Sanding.

Unpleasantly dusty, but ultimately gratifying removing blemishes to get a smooth, faired boat.
Here you can see the fact that despite the planks being planed to the same thickness and our most careful efforts, you can see how they’re out a smidgeon. A fraction of a millimeter in many cases, but still... One plank shows some residual saw marks too.
This shows the transformation as planks are sanded. 
And more sanded. Not entirely done at this stage, but getting close.
Hank using a plane to knock off some of the high spots prior to sanding.
What the boat looks like sanded.
What I looked like after sanding.
 The boat after coating all the blemishes (damaged cove edges, improperly joined edges, etc.) with a slurry of sawdust and epoxy. After smearing it in and on, more sanding!

The last 4 pics also show the unshaped outer stern stem.
 A friend lent me this Ridgid sander, which unlike the Bosch one I used at first, had a dust collection bag and and was just plain easier to use. Easier to hold, less vibrations, etc. Maybe a bit slower to use, but I liked it.

Go here for part 8 of the build - fiberglassing and epoxying.

Wednesday, 5 September 2012

Kayak Build pt. 6

The hull planking is completed.

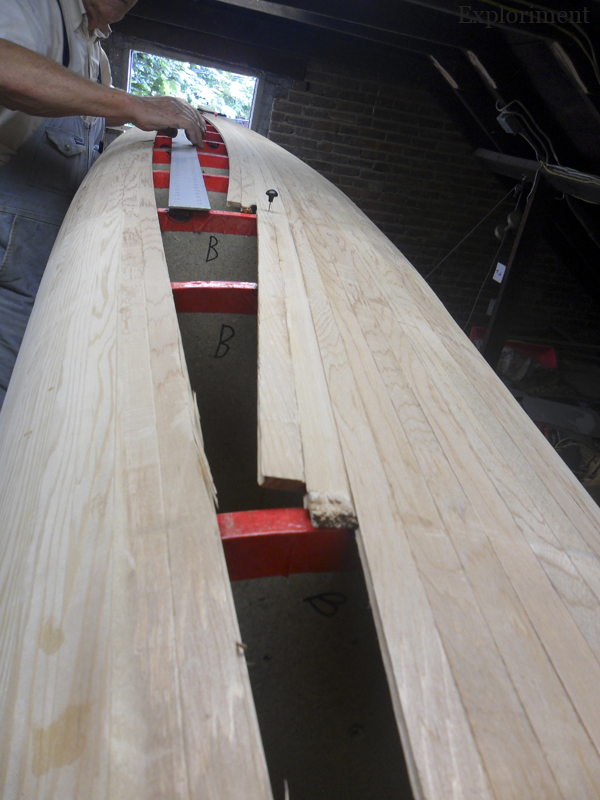
We built up one side until it overlapped the centerline. Then with some sail maker pins we placed a string over the centerline and marked the center. Used a dozuki saw to cut away most of the excess wood, and then used a chisel and plane to make a perfectly straight line of wood.
Now closing in the other side could begin. Painstaking work to make sure everything fit the way it should.
Piece by piece it came together.
A quick and dirty composite picture of the last piece of wood to go in. Took me an hour of exacting shaping, removing a sliver at a time to get a precise fit.
Closed. What had been a woodworking project, was now finally a definitive object.

Go here for part 7 of the build.