Planking.
What it is all about really.


The first plank on the bottom is attached via brads (which will be removed later) and every one after that is glued and clamped/shockcorded into place.


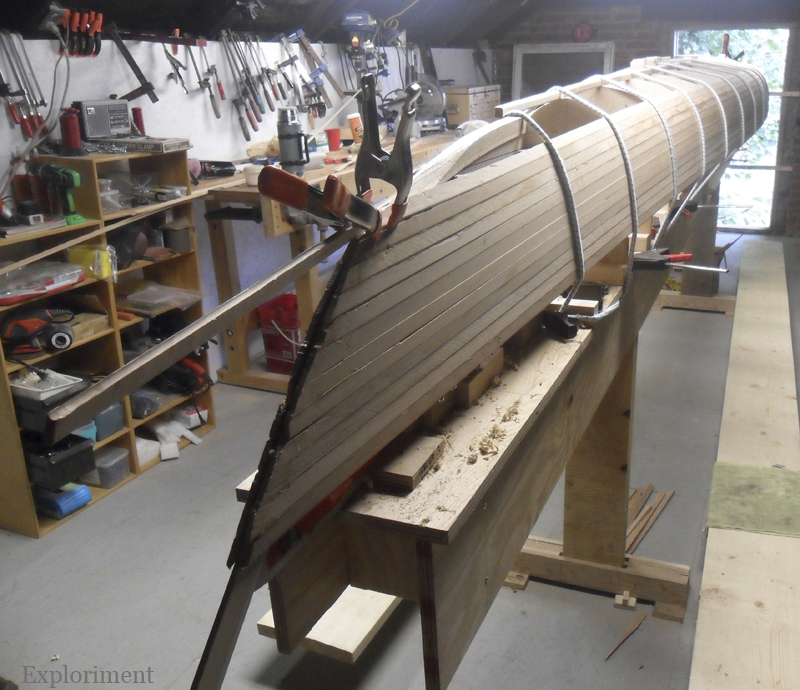

This is the point where it starts to get tricky. (You can also see another trick we used to keep the planks in place: a smaller scrap of beaded wood held on to the stem with a brad. That also worked well.)

The problem is that after about the tenth board or so, they go from all vertical, to vertical at the bow and stern and horizontal in the center.


Here you can see some of the clamping (and shock cording) we had to do in order to counteract the torquing that happened with such drastic changes in direction. One thing that helped keep the vertical in place was to clamp a large bar clamp at the ends, the weight of which twisted it enough to seat the plank. Taking the time to hold the ends in place by hand waiting for the Gorilla Glue to take hold, helped as well. The first bunch went somewhat quickly, but these ones we really took our time on, to make sure the glue well and truly had set.

We put a batten in to help raise the shock cord so we could slide the next strip in without too much interference. We placed Tuck tape on the station molds to avoid getting glue on them, which would interfere with lifting it off the station molds.
 Getting closer.


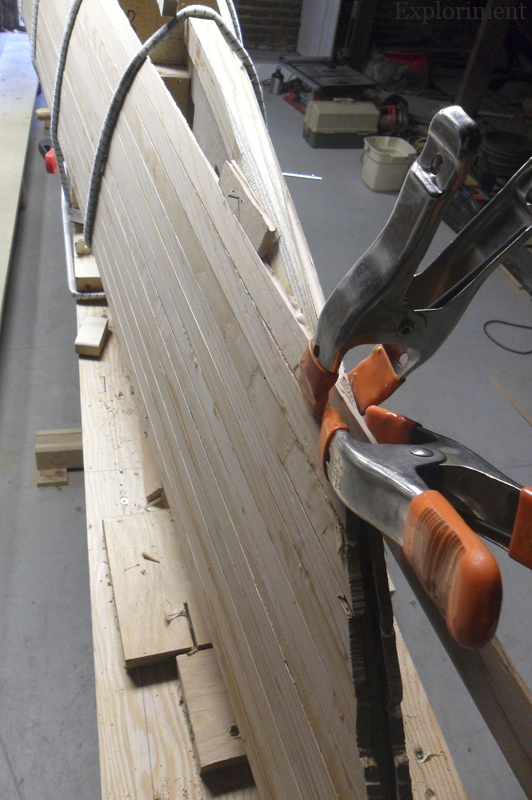
 The other thing that is so tricky about it is that the cove on the strips is really fragile. We needed to be mindful of not crushing those delicate edges. We found that those same battens that we used to lift the shock cord up to allow easy sliding of the cedar strips, slid up against the plank, and then held in place with a clamp worked well. Lots of tension with no damage to the cove.


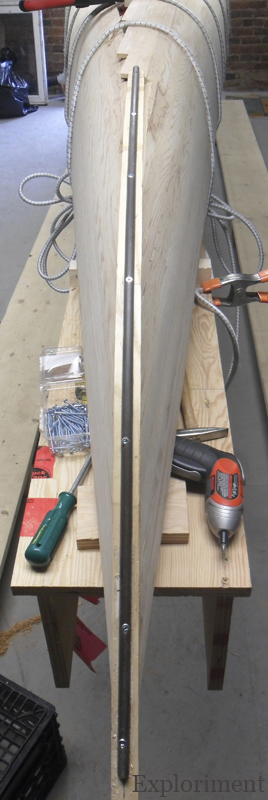
 The bow, without the outer stem fitted. You can see that part of it has been sanded, and what a difference that makes. You can also see that some edges were damaged leaving slight gaps, and that a board didn’t seat properly as it dried, and left an ugly gap. It will have to be repaired with a saw dust and epoxy slurry.


Go here for part 6 of the build.


No comments:
Post a Comment